Educational
A 3D rendering walkthrough is a simulated tour through a 3D model. See how an interactive one carries a prospect from first look to personalized renders.

What Is a 3D Rendering Walkthrough?
A 3D rendering walkthrough is a simulated digital tour of a home built from a 3D model, used to present the design to your client before construction begins. It is an effective way to show concepts and revisions in a visual, interactive format.
Clients can learn and understand from it in a way they cannot from architectural plans. Plans can look technical, overwhelming, and hard to picture as a real home.
There are different types of walkthroughs you can use:
Video walkthrough: A recorded tour that follows one fixed route through the home. The viewer watches it, but cannot change where it goes.
Rendered walkthrough: A series of rendered images that the viewer moves through along a pre-defined route. This is commonly used in real estate listings.
3D rendered walkthrough: A rendered 3D model of the design that the viewer explores themselves, moving from room to room and choosing where to look. This is the type Tiny Easy's 3D Configurator and 3D Viewer Tool are built around.
The video walkthrough works well in a presentation, where the presenter sets the pace. The rendered and 3D rendered walkthroughs both work as interactive tours.
The rendered walkthrough takes more effort to prepare and set up. It is built once, so any change means rebuilding the whole walkthrough from scratch.
The 3D rendered walkthrough is easier to keep current. With a 3D Configurator, a builder can make changes when they are needed without rebuilding the walkthrough, so it takes less time to maintain. The same applies to the 3D Viewer Tool, where a change made in the design shows up in the shared view.
The wider industry uses the same idea. Autodesk describes a walkthrough as a simulated tour of a site or building, using camera positions placed along a defined path. It also notes that the path can be exported as a video or a series of images, which is the pre-defined route described above.
Why Scattered Home Information Makes Homes Harder to Sell
Prospects can only learn a home from the information you give them. For a small builder with a model range, that information often arrives in pieces.
A gallery may show a few photos from different versions of the same design. The floor plan may not quite match those images. Options and inclusions may sit in a long block of written information.
Every piece can be correct. The presentation is what makes it hard to understand. The prospect struggles to see what the design looks like, what they can change, and whether it is right for them.
An interactive walkthrough on your website gives prospects one place to explore from instead of pieces of information to reconcile across different sources. It becomes the first stage of a connected visual sales journey, giving prospects the opportunity to self-educate on your model range, understand your customization and upgrade options, and self-qualify if your pricing indications fit within their budget.
Here’s how a 3D rendering walkthrough workflow can work for you.
Let Prospects Explore the Home in 3D
The journey starts when a prospect lands on the builder's website. Instead of scrolling through static photos of a display home, they can open an interactive 3D model of a home in the builder's range. Prospects can walk through the layout themselves, on a phone or a laptop, before ever picking up the phone.
You can set up your model range with a 3D walkthrough in a few different ways:
3D Viewer Walkthrough:
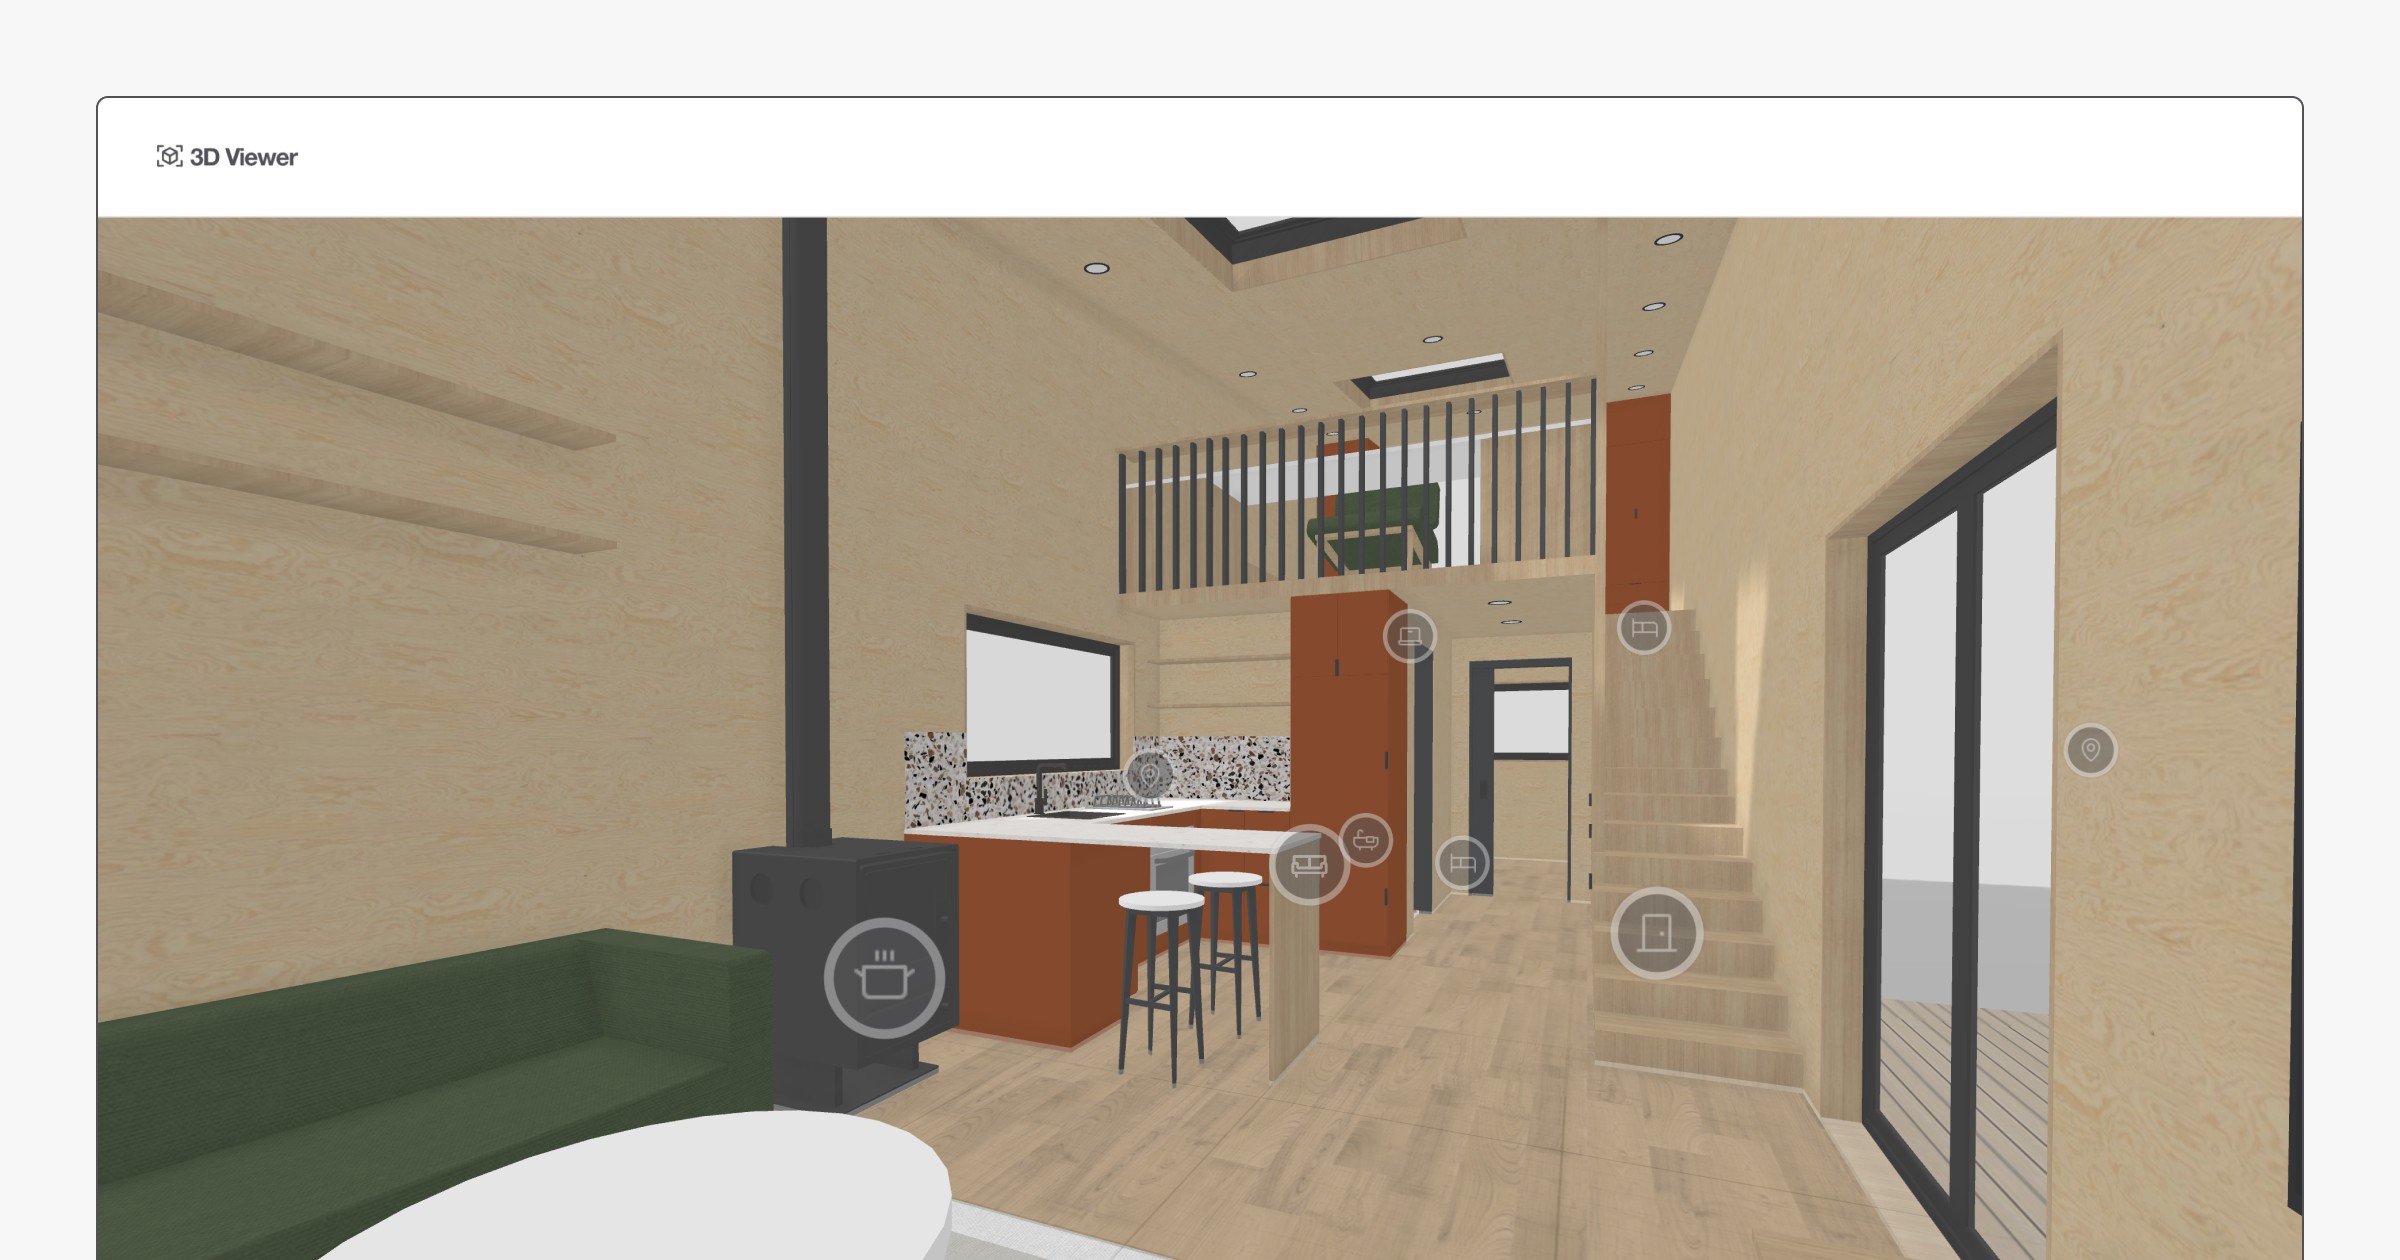
A great starting point if you have one design to showcase but haven't yet defined customization or upgrade options. Prospects can explore the model while you collect feedback to help shape those options.
3D Virtual Showroom:
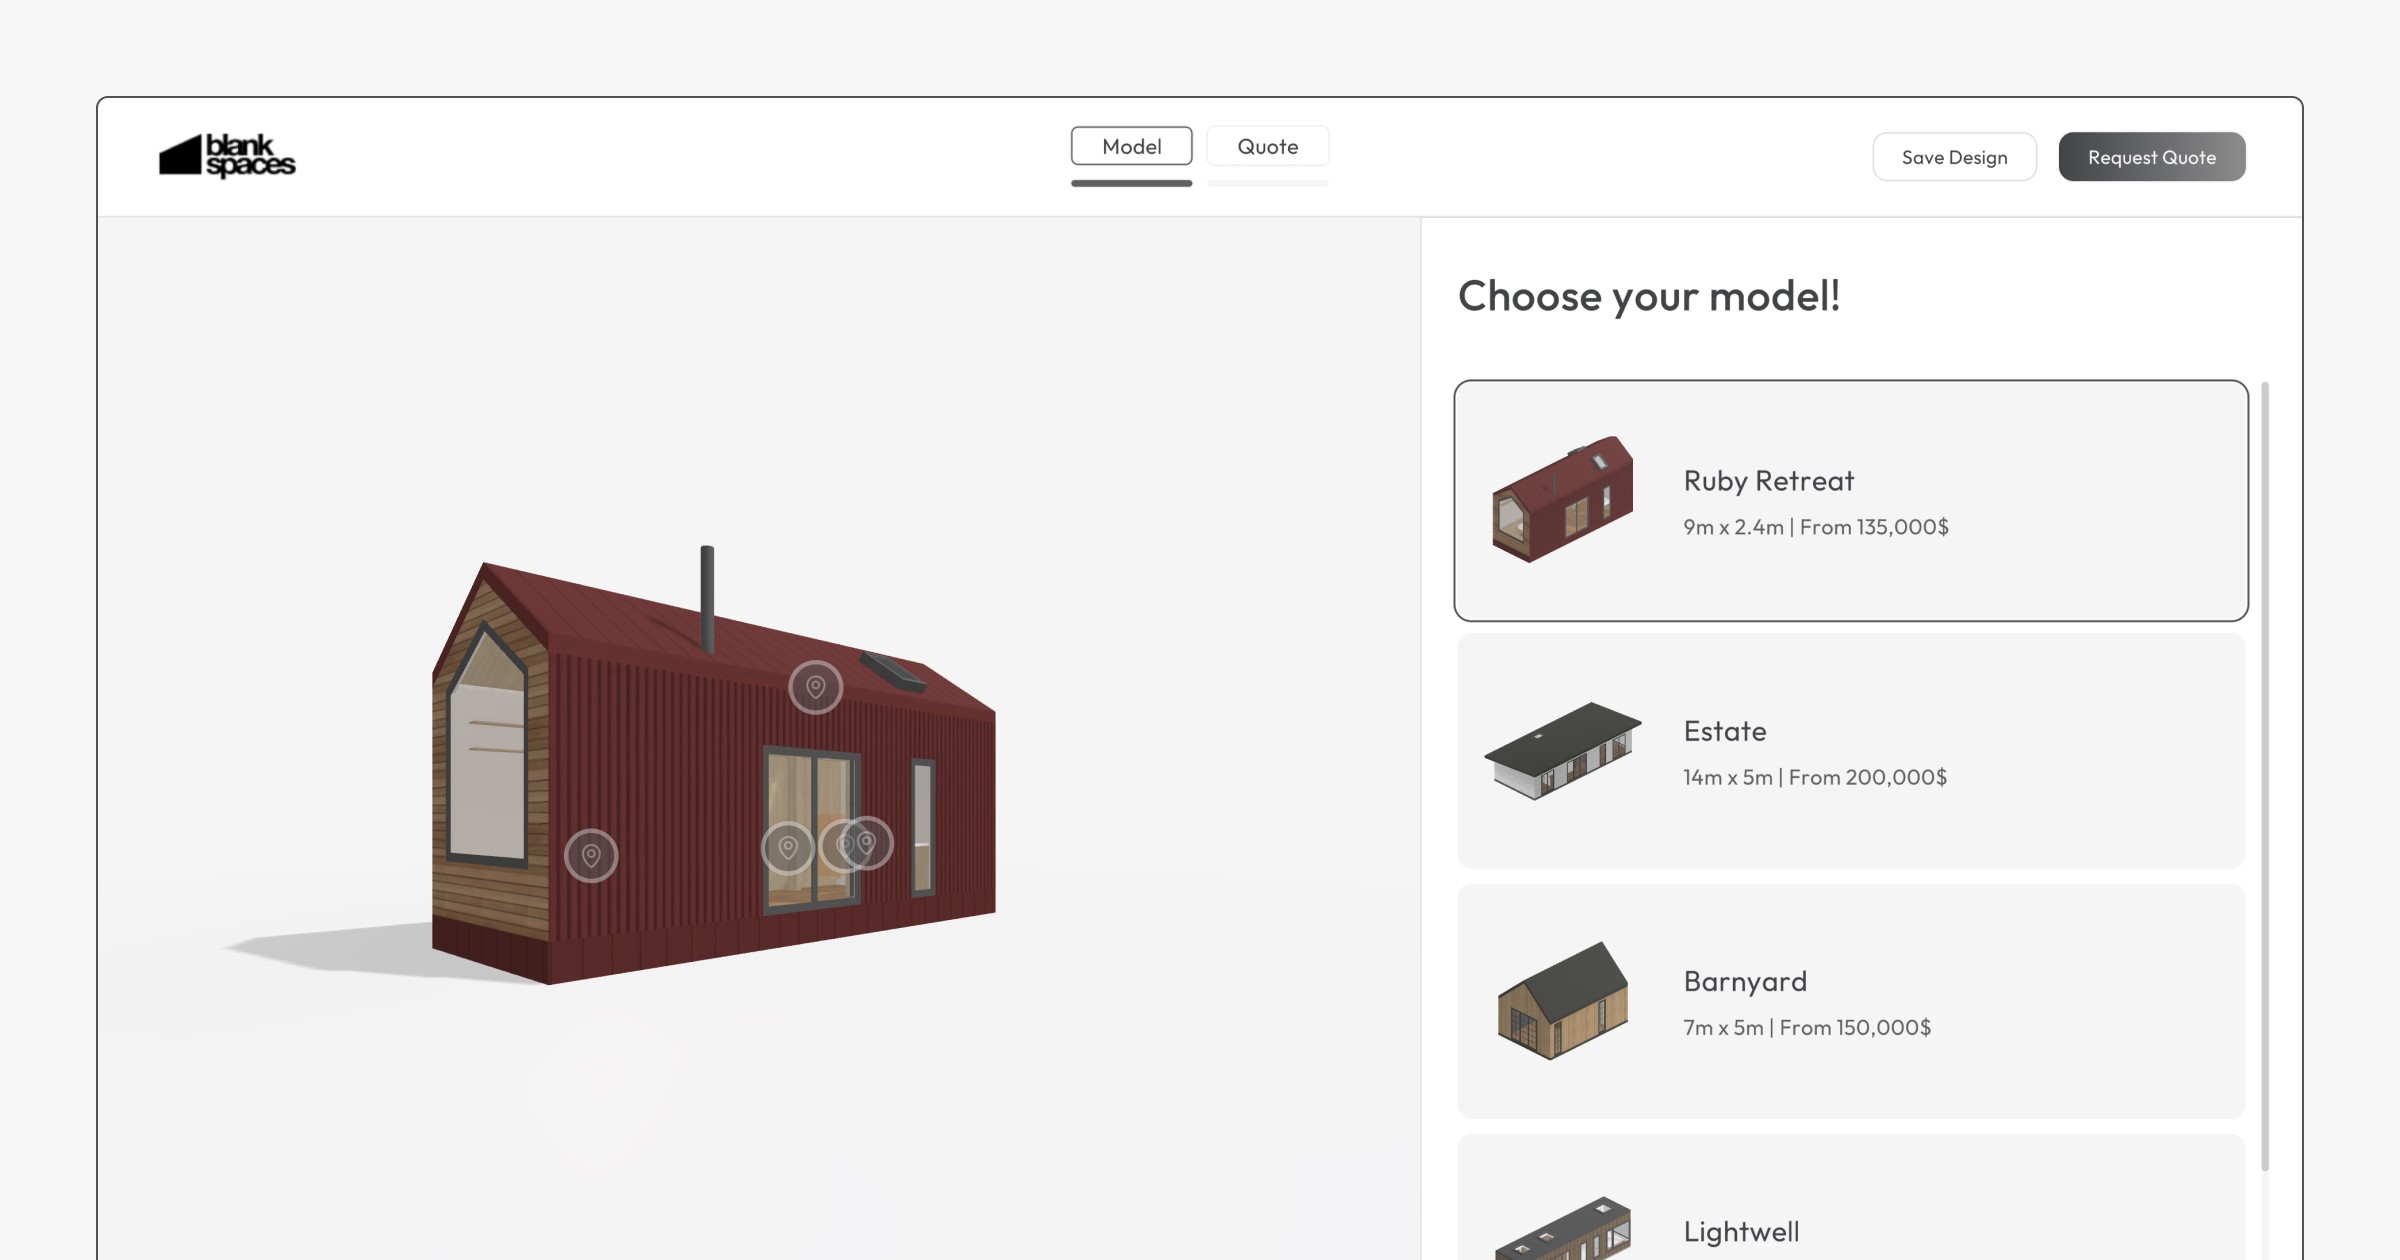
Ideal if you have several models with starting prices and want prospects to explore the range before you've fully defined customization and upgrade paths.
3D Configurator:
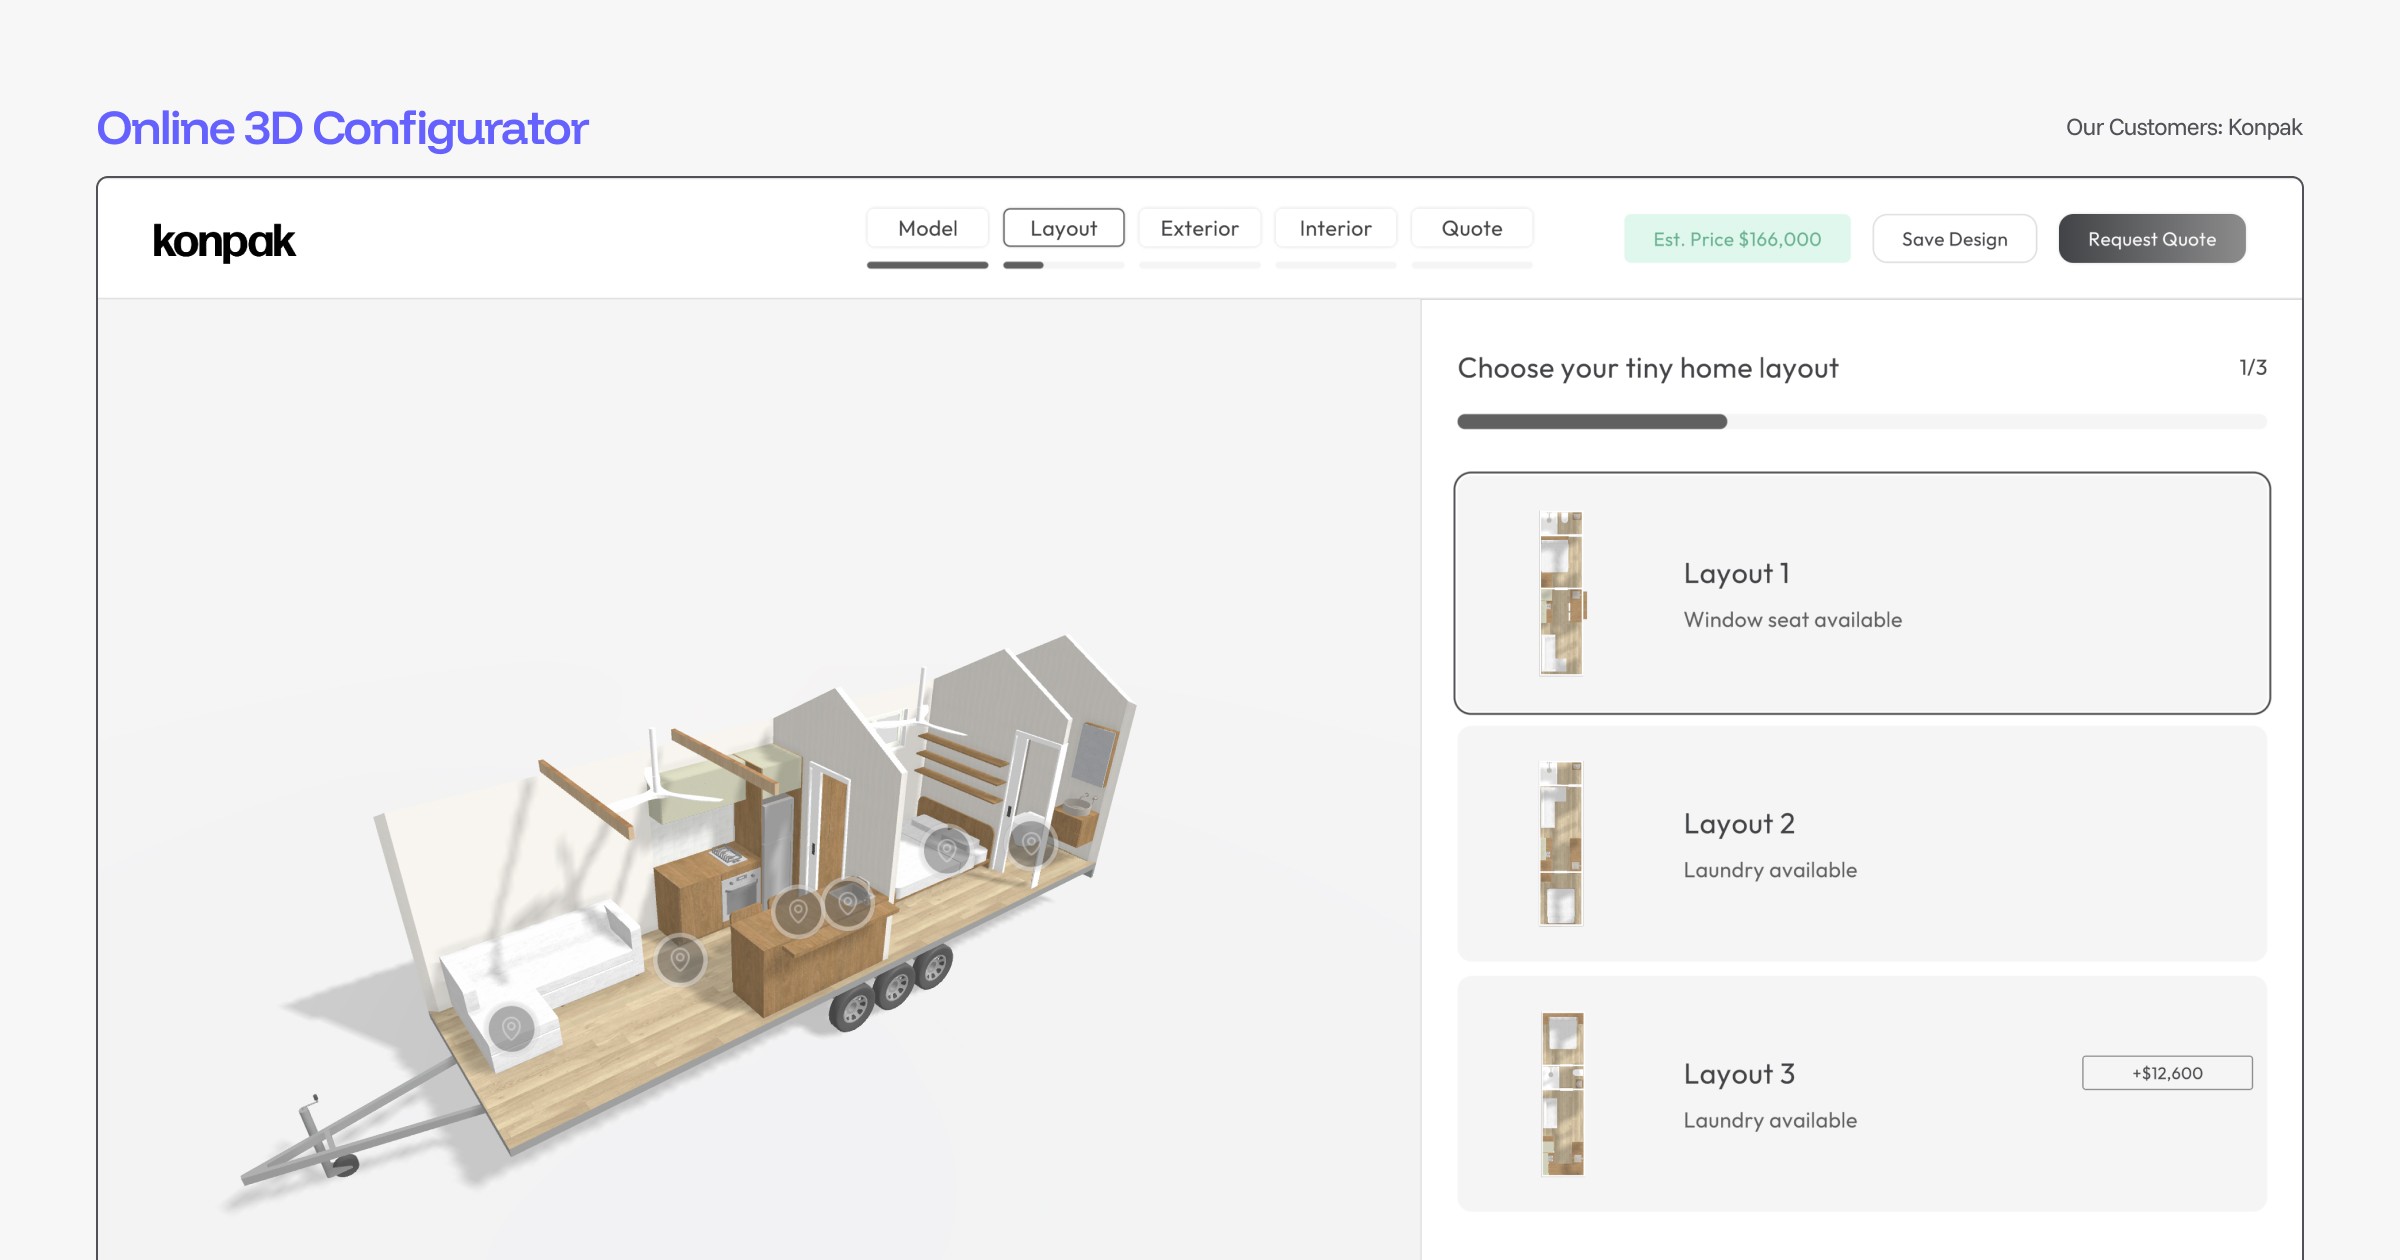
Best when you already have predefined options and upgrades that prospects can explore, select, and include in a quote request.
Even a simple interactive walkthrough can remove some of the unknowns that stop prospects from taking the next step. By the time they request a quote or book a showroom visit, they already understand the model and layout they're interested in. Your website has done some of the early sales work before the first conversation begins.
Once prospects can explore the home itself, the natural next step is letting them shape it around what they want.
Configure the Home
From here, we'll focus on how a 3D Configurator helps move prospects from simply exploring a home to actively shaping it around what they want.
Once someone has explored a model, the walkthrough becomes more useful if they can adjust it to match what they actually want. A builder-approved 3D Configurator lets a prospect try different options and upgrades on the same model they just walked through, such as switching the cladding or adding a deck package.
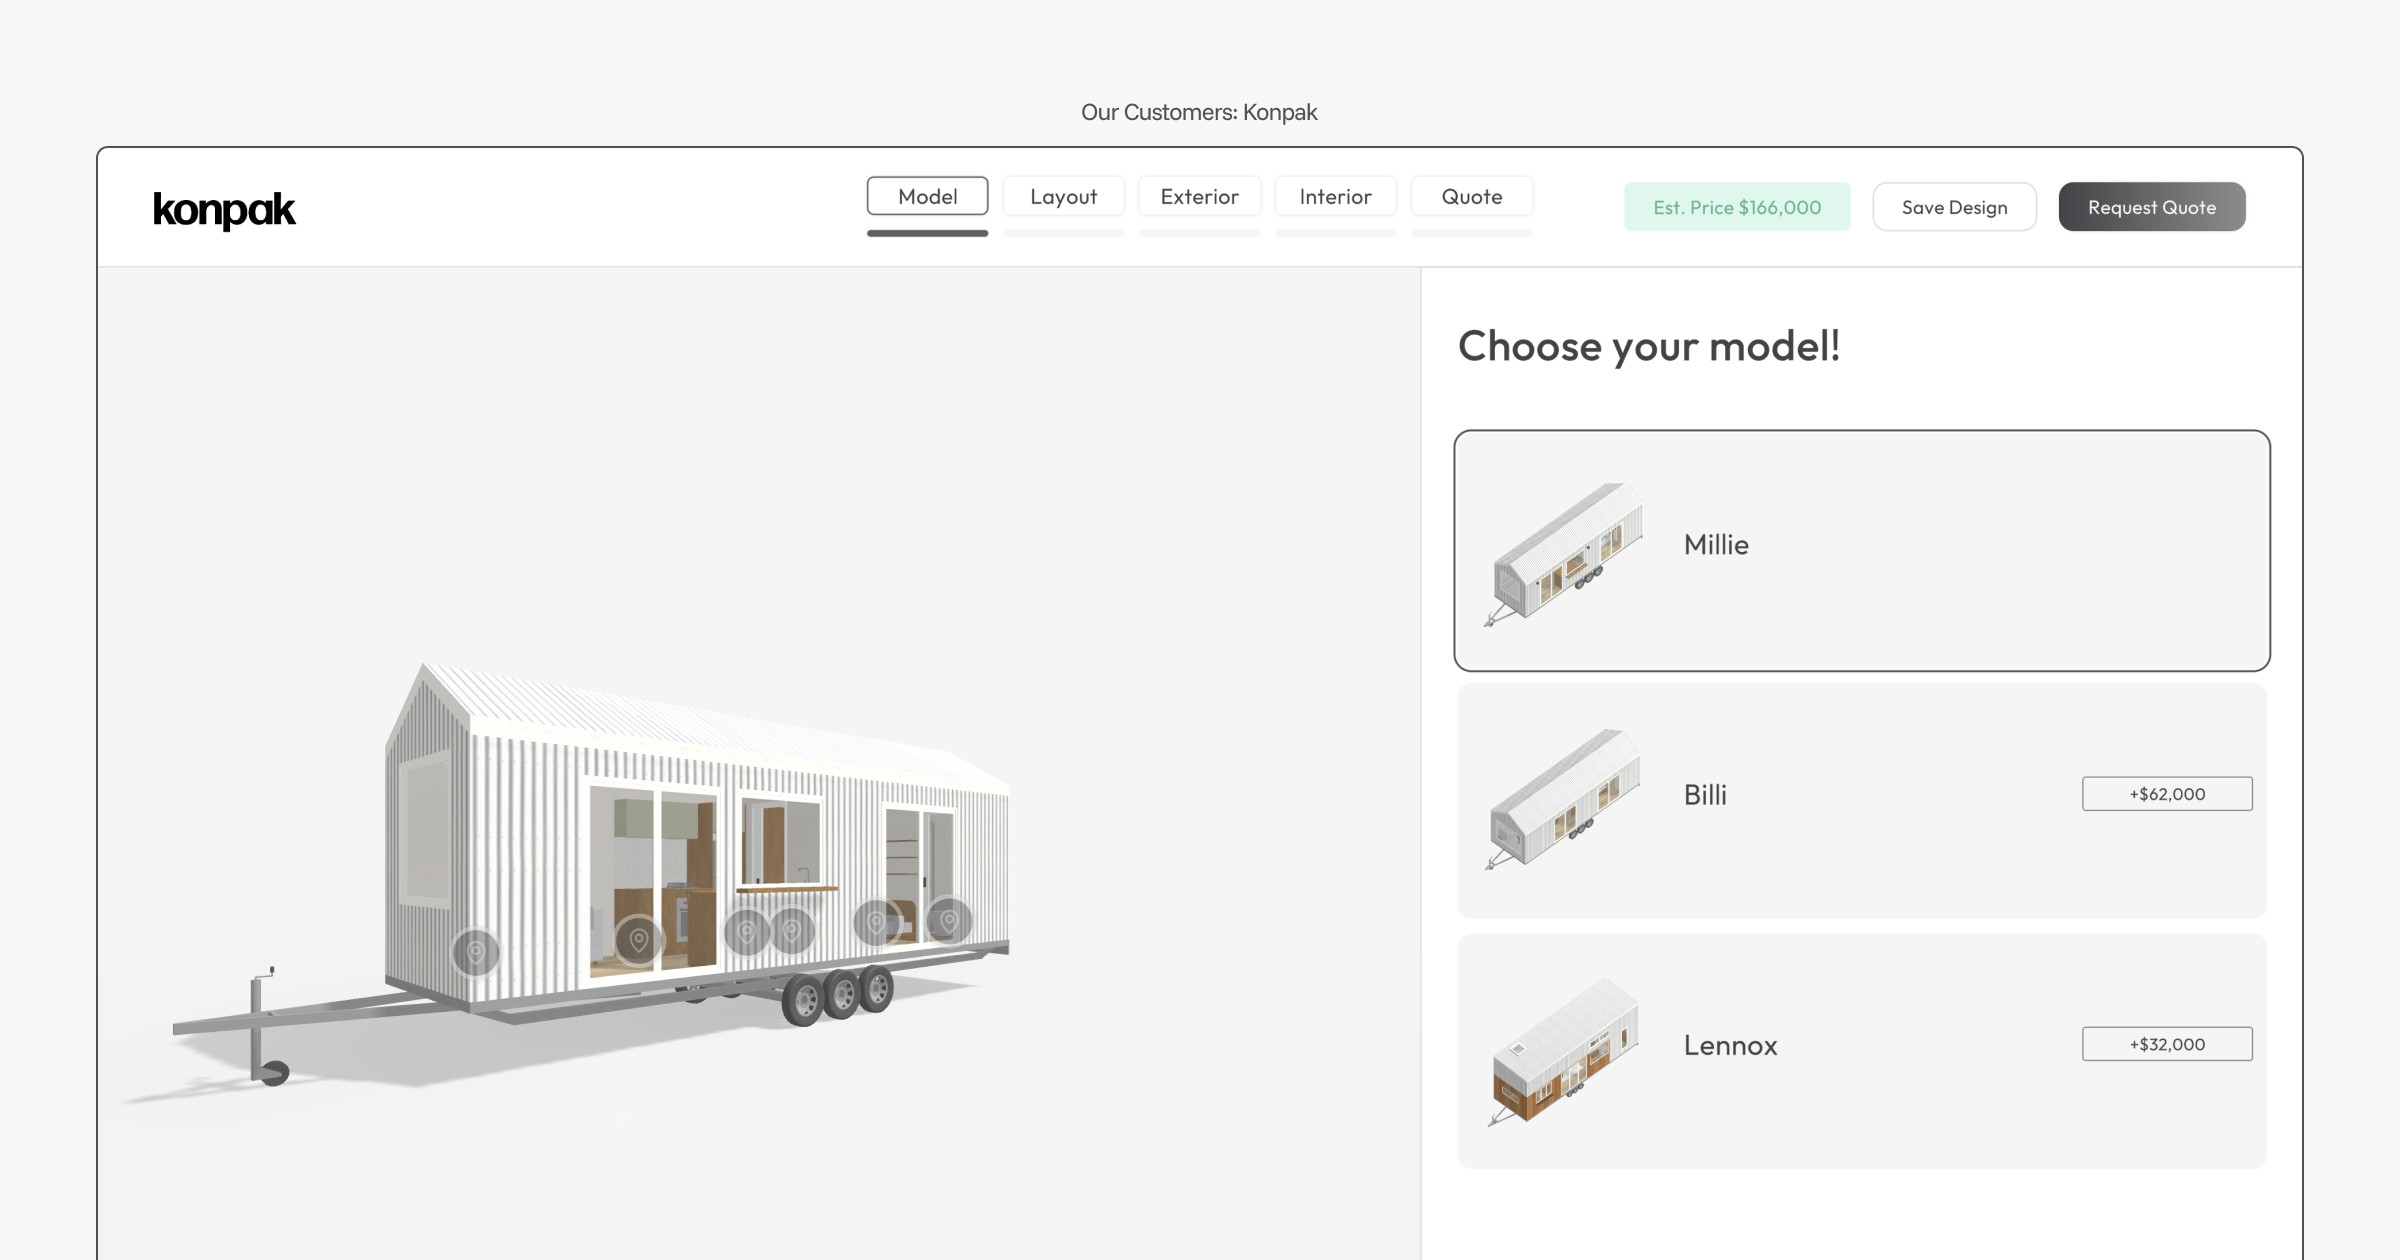
This matters because those choices stay attached to the walkthrough instead of sitting on a separate options sheet the prospect has to cross-reference later. They see how each option changes the look of the home in the same 3D view. Where a builder has enabled it, they also see a live pricing estimate update alongside their choices.
A defined model-range configurator keeps this manageable. Rather than opening the door to unrestricted custom design, the prospect chooses from options the builder has already approved and can build, which keeps the conversation grounded in what is deliverable.
For example, a prospect switching between two cladding colors and adding a deck package on a two-bedroom cabin model is doing real sales work. Those choices travel with the model into whatever happens next.
Submit the Configuration
When a prospect is ready to move forward, they submit their configuration rather than filling out a blank contact form. That submission carries the model they chose, the options and upgrades they selected, and whatever qualifying information the builder asks for.
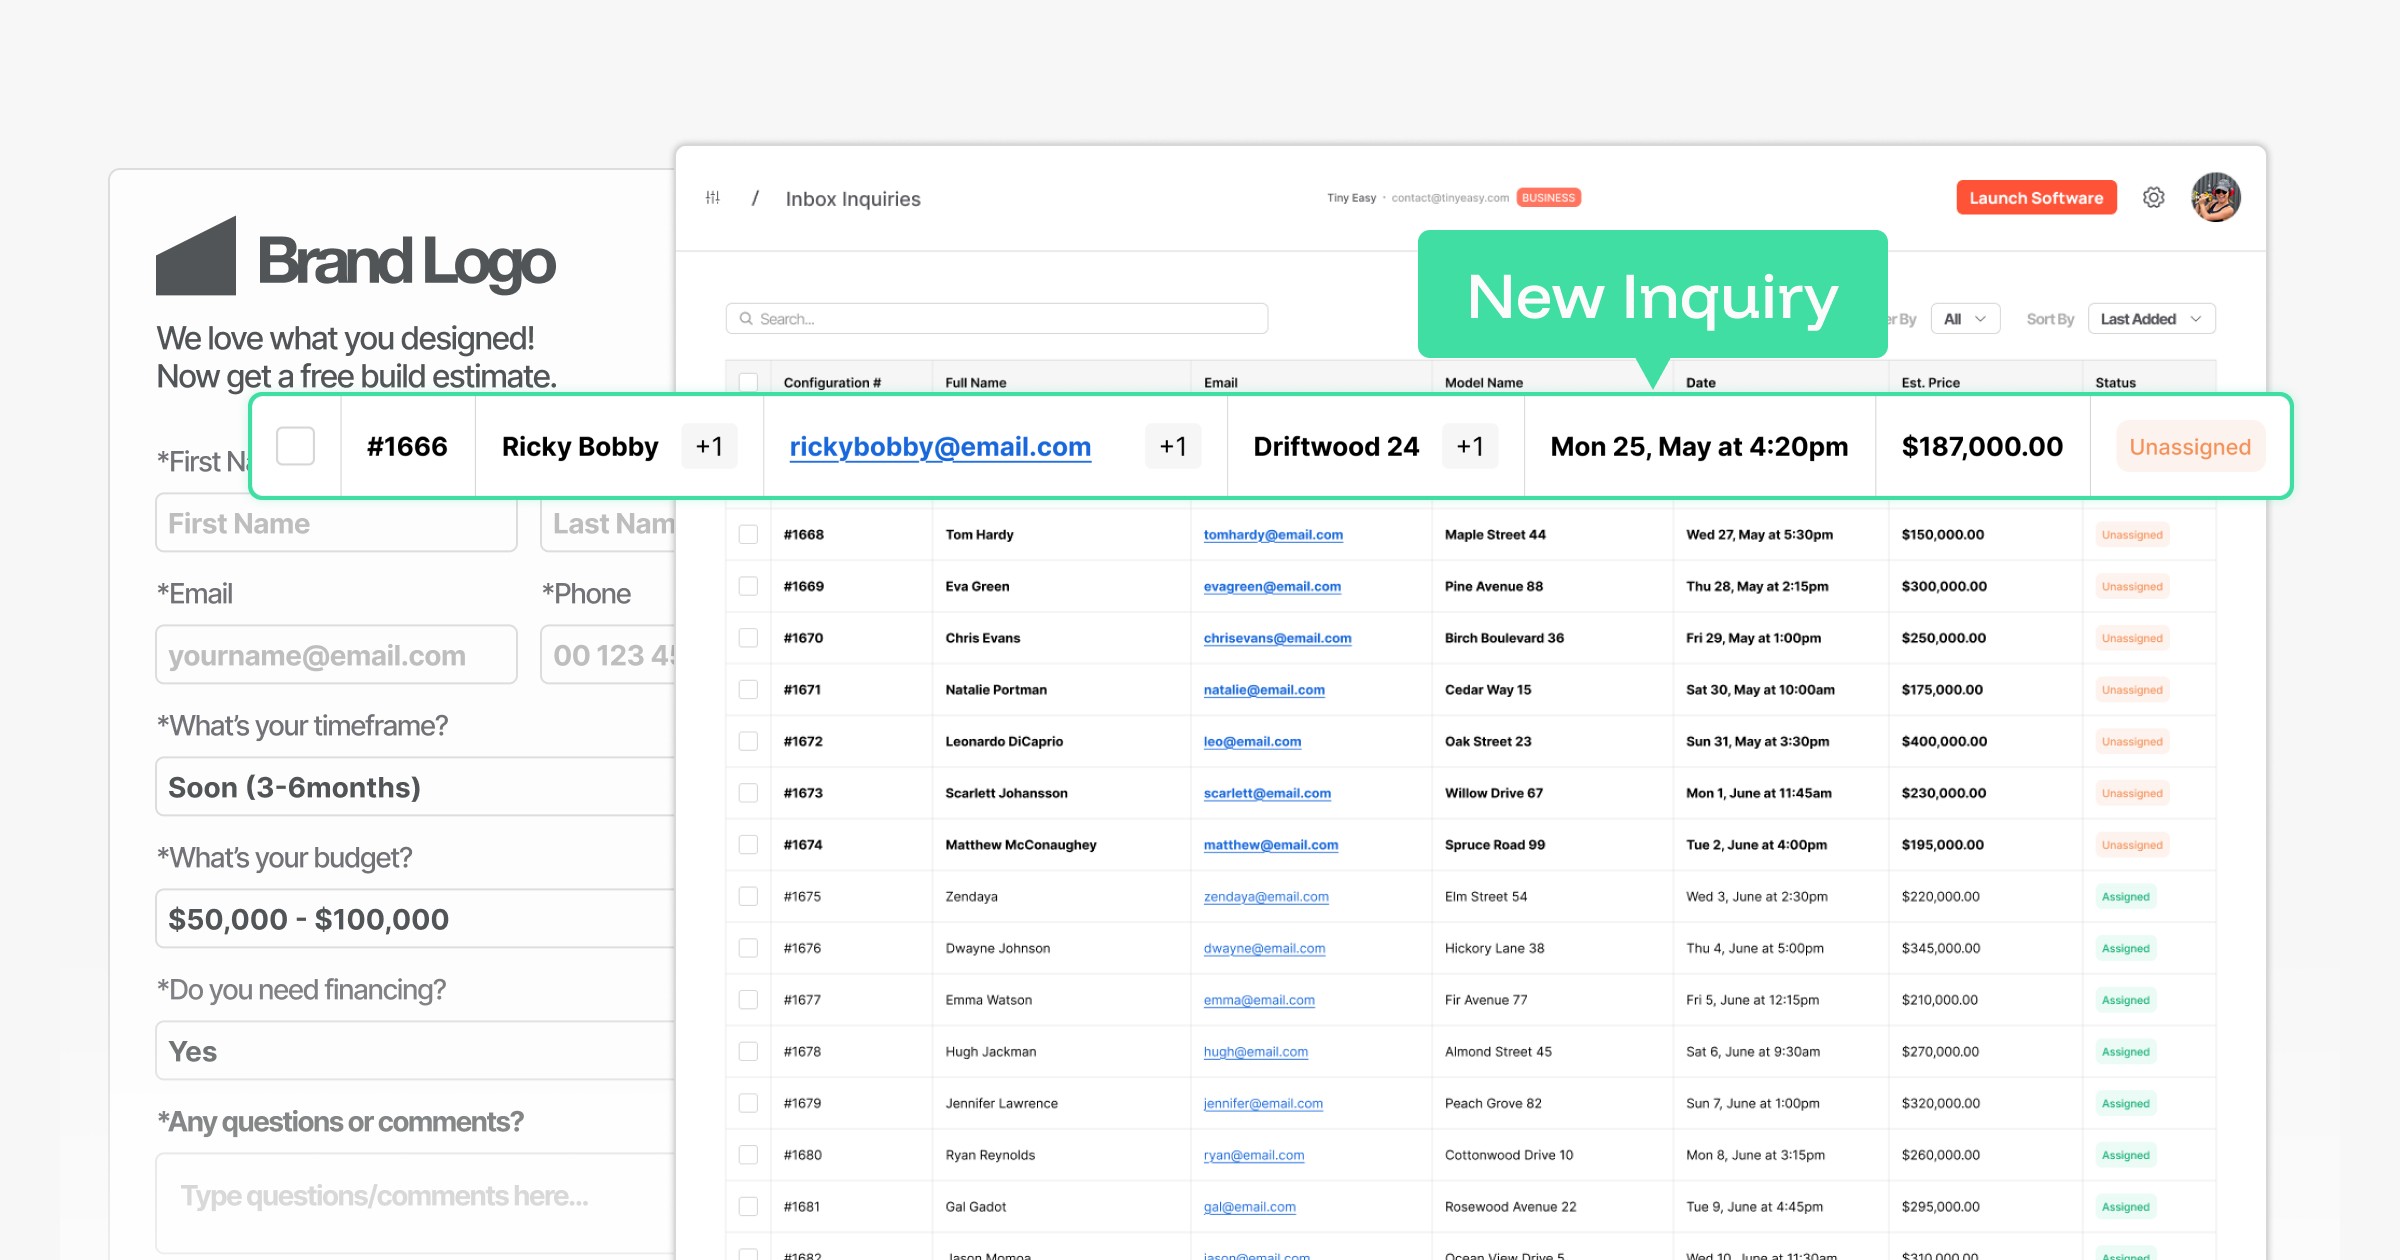
This is the point where the builder's side of the workflow starts, and what happens here matters more than it looks. The prospect has already spent time inside this specific home, which shows serious intent. The salesperson's job is to open the same configuration the customer walked through, not to start the conversation from a generic inquiry.
A salesperson who opens a lead and sees a two-bedroom cabin with a deck package already applied is working from real information. They can speak to the specific home in front of them instead of guessing at what the prospect might want.
Create Personalized Renders
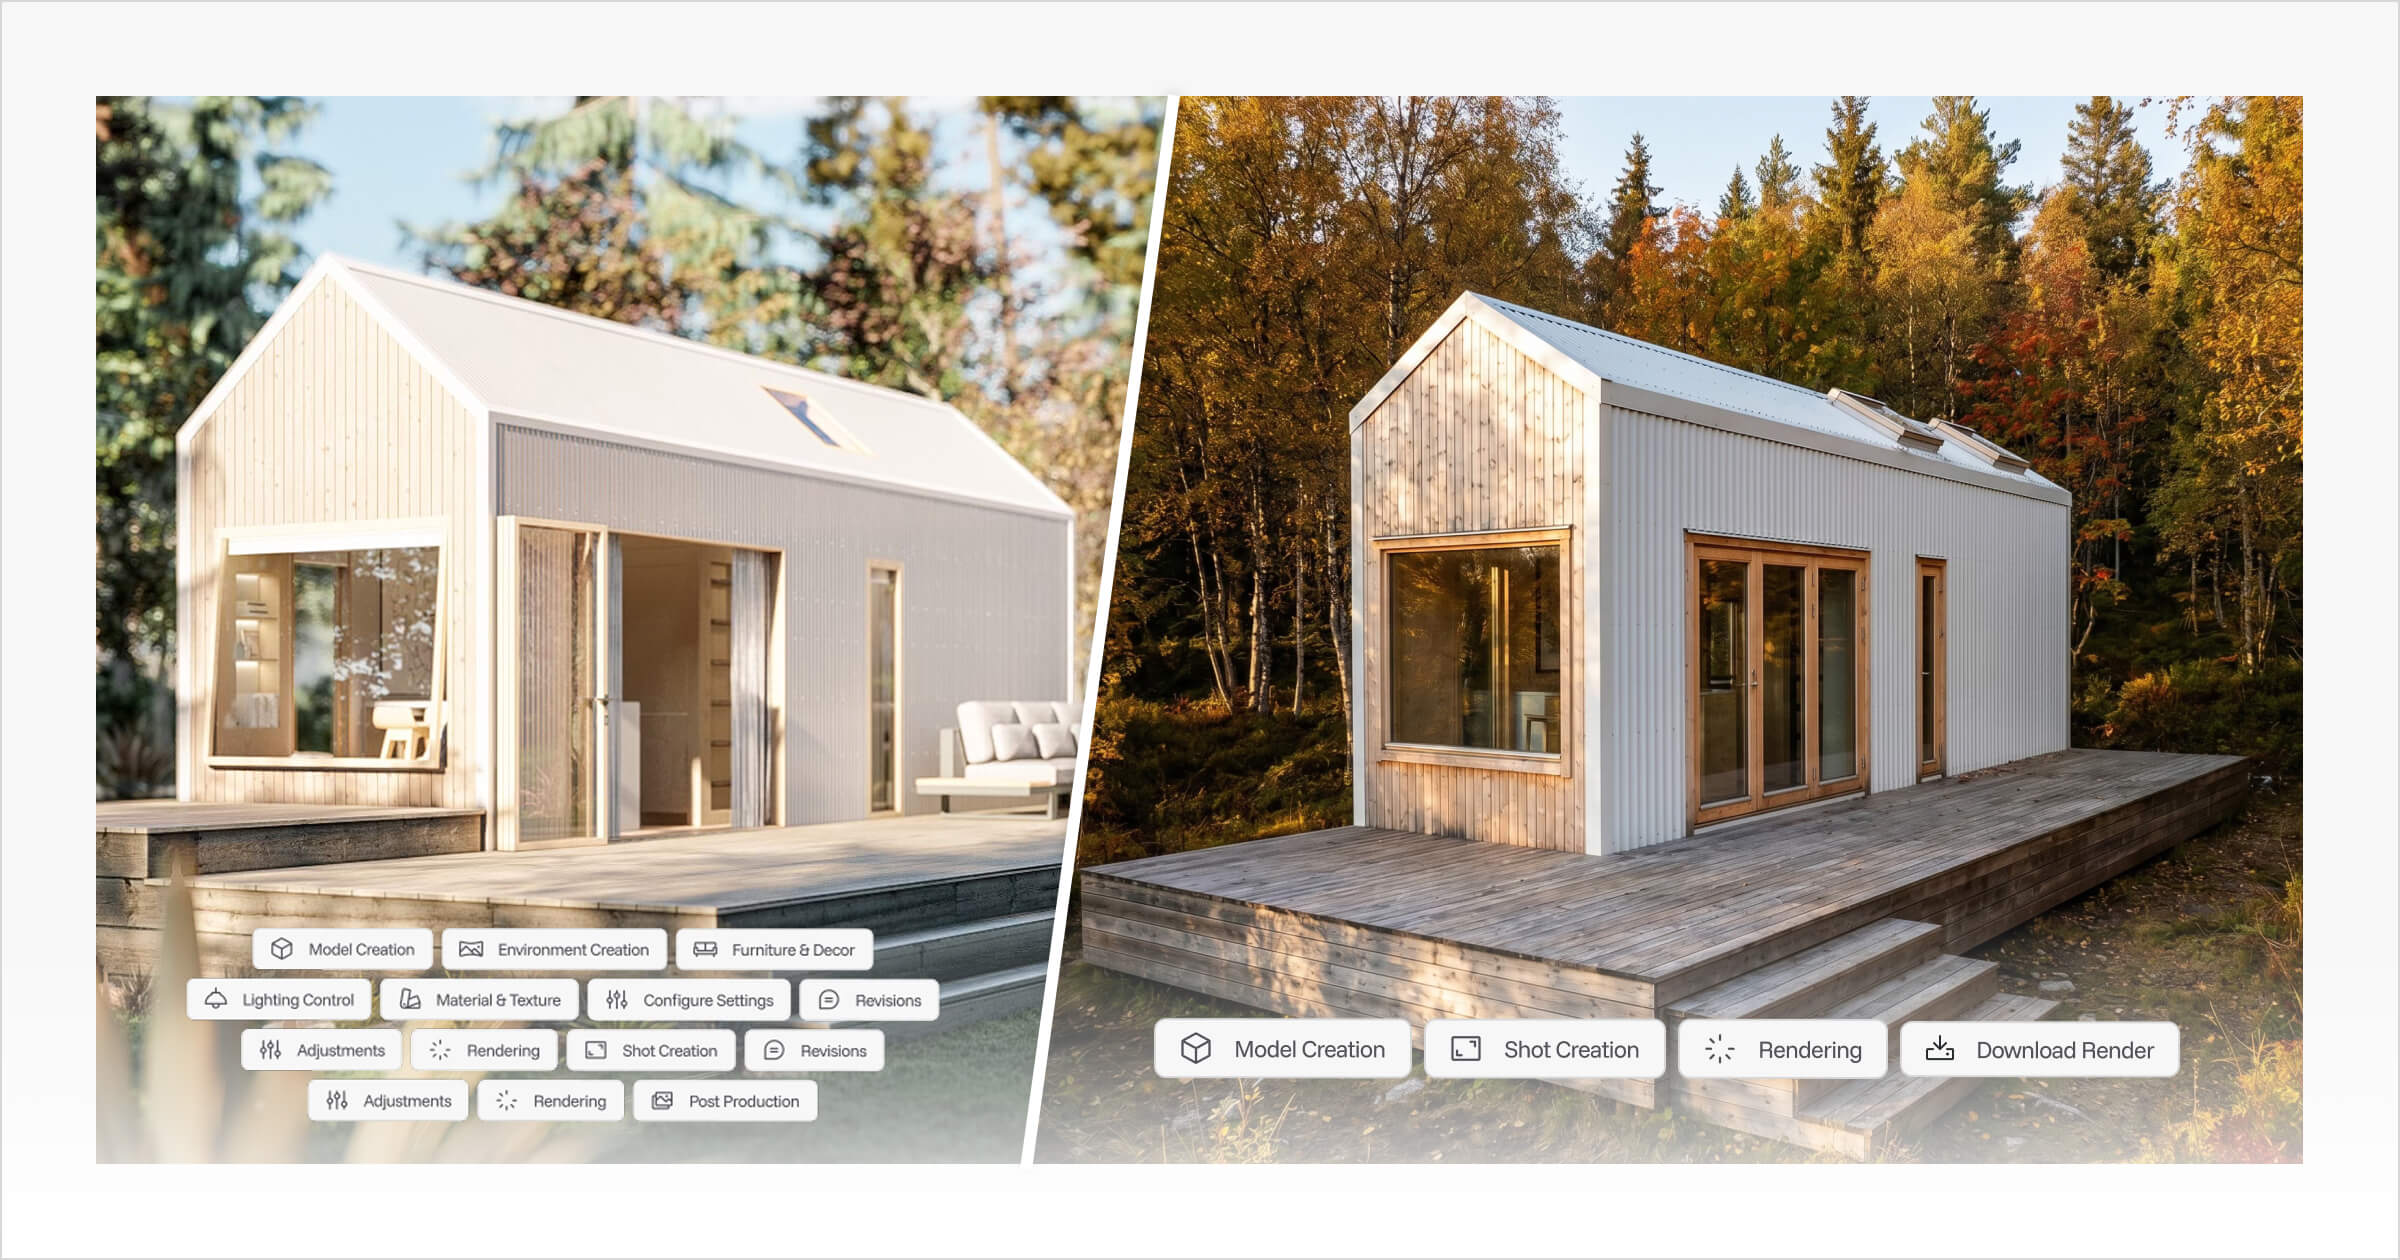
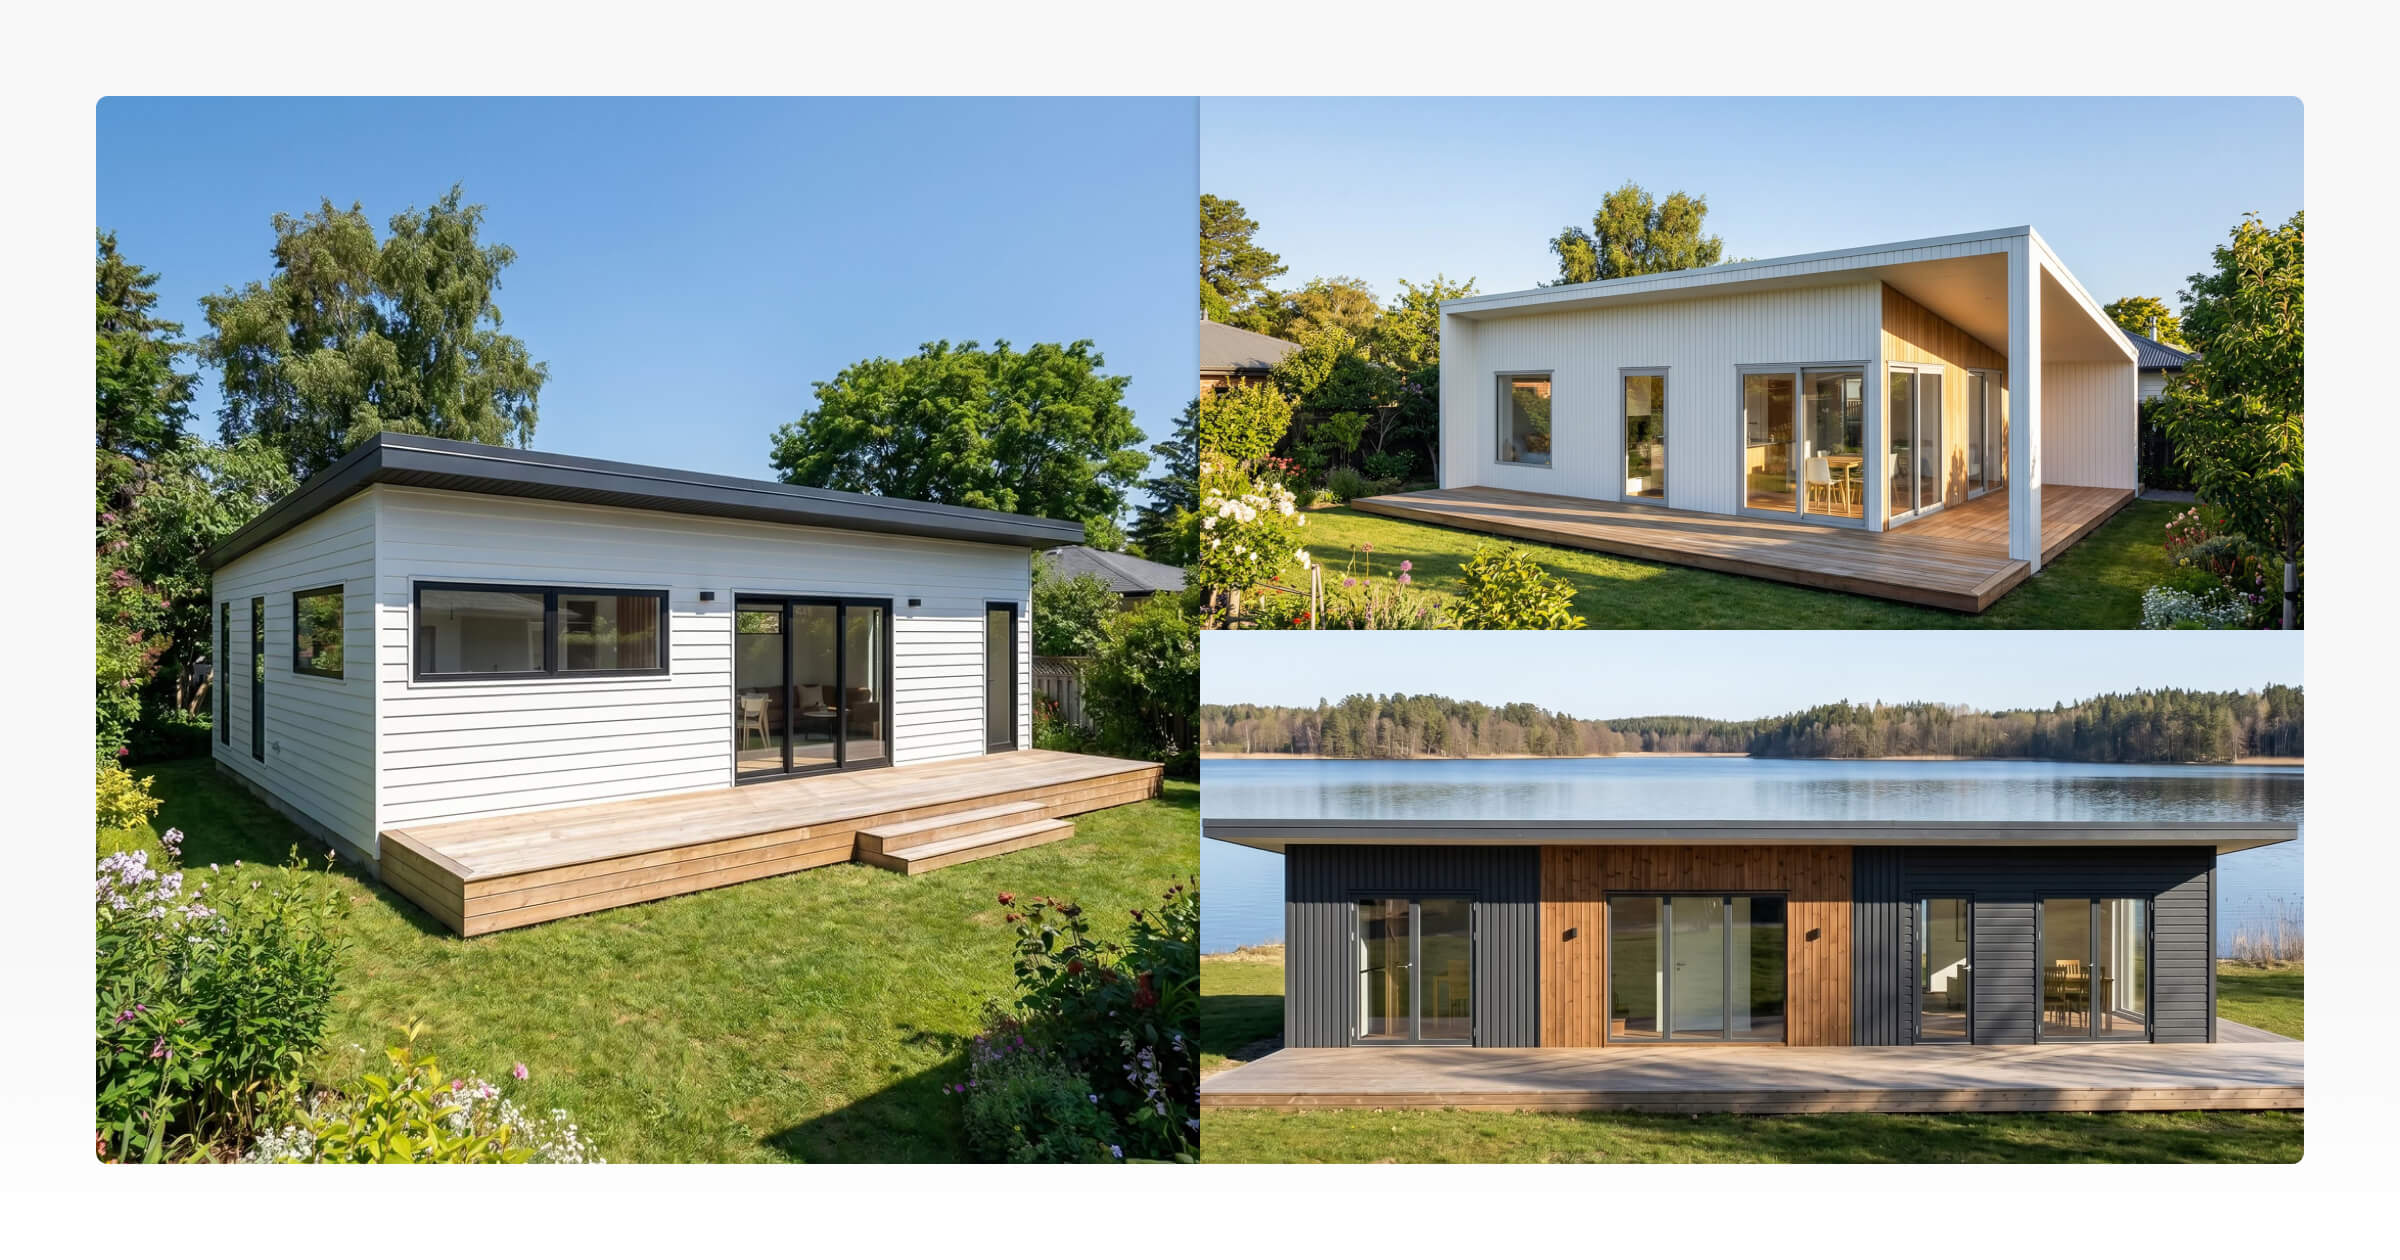
A submitted configuration does not have to be turned into a generic email. A builder can open the submitted configured model straight from their configurator inbox and create custom photorealistic renders of that configuration.
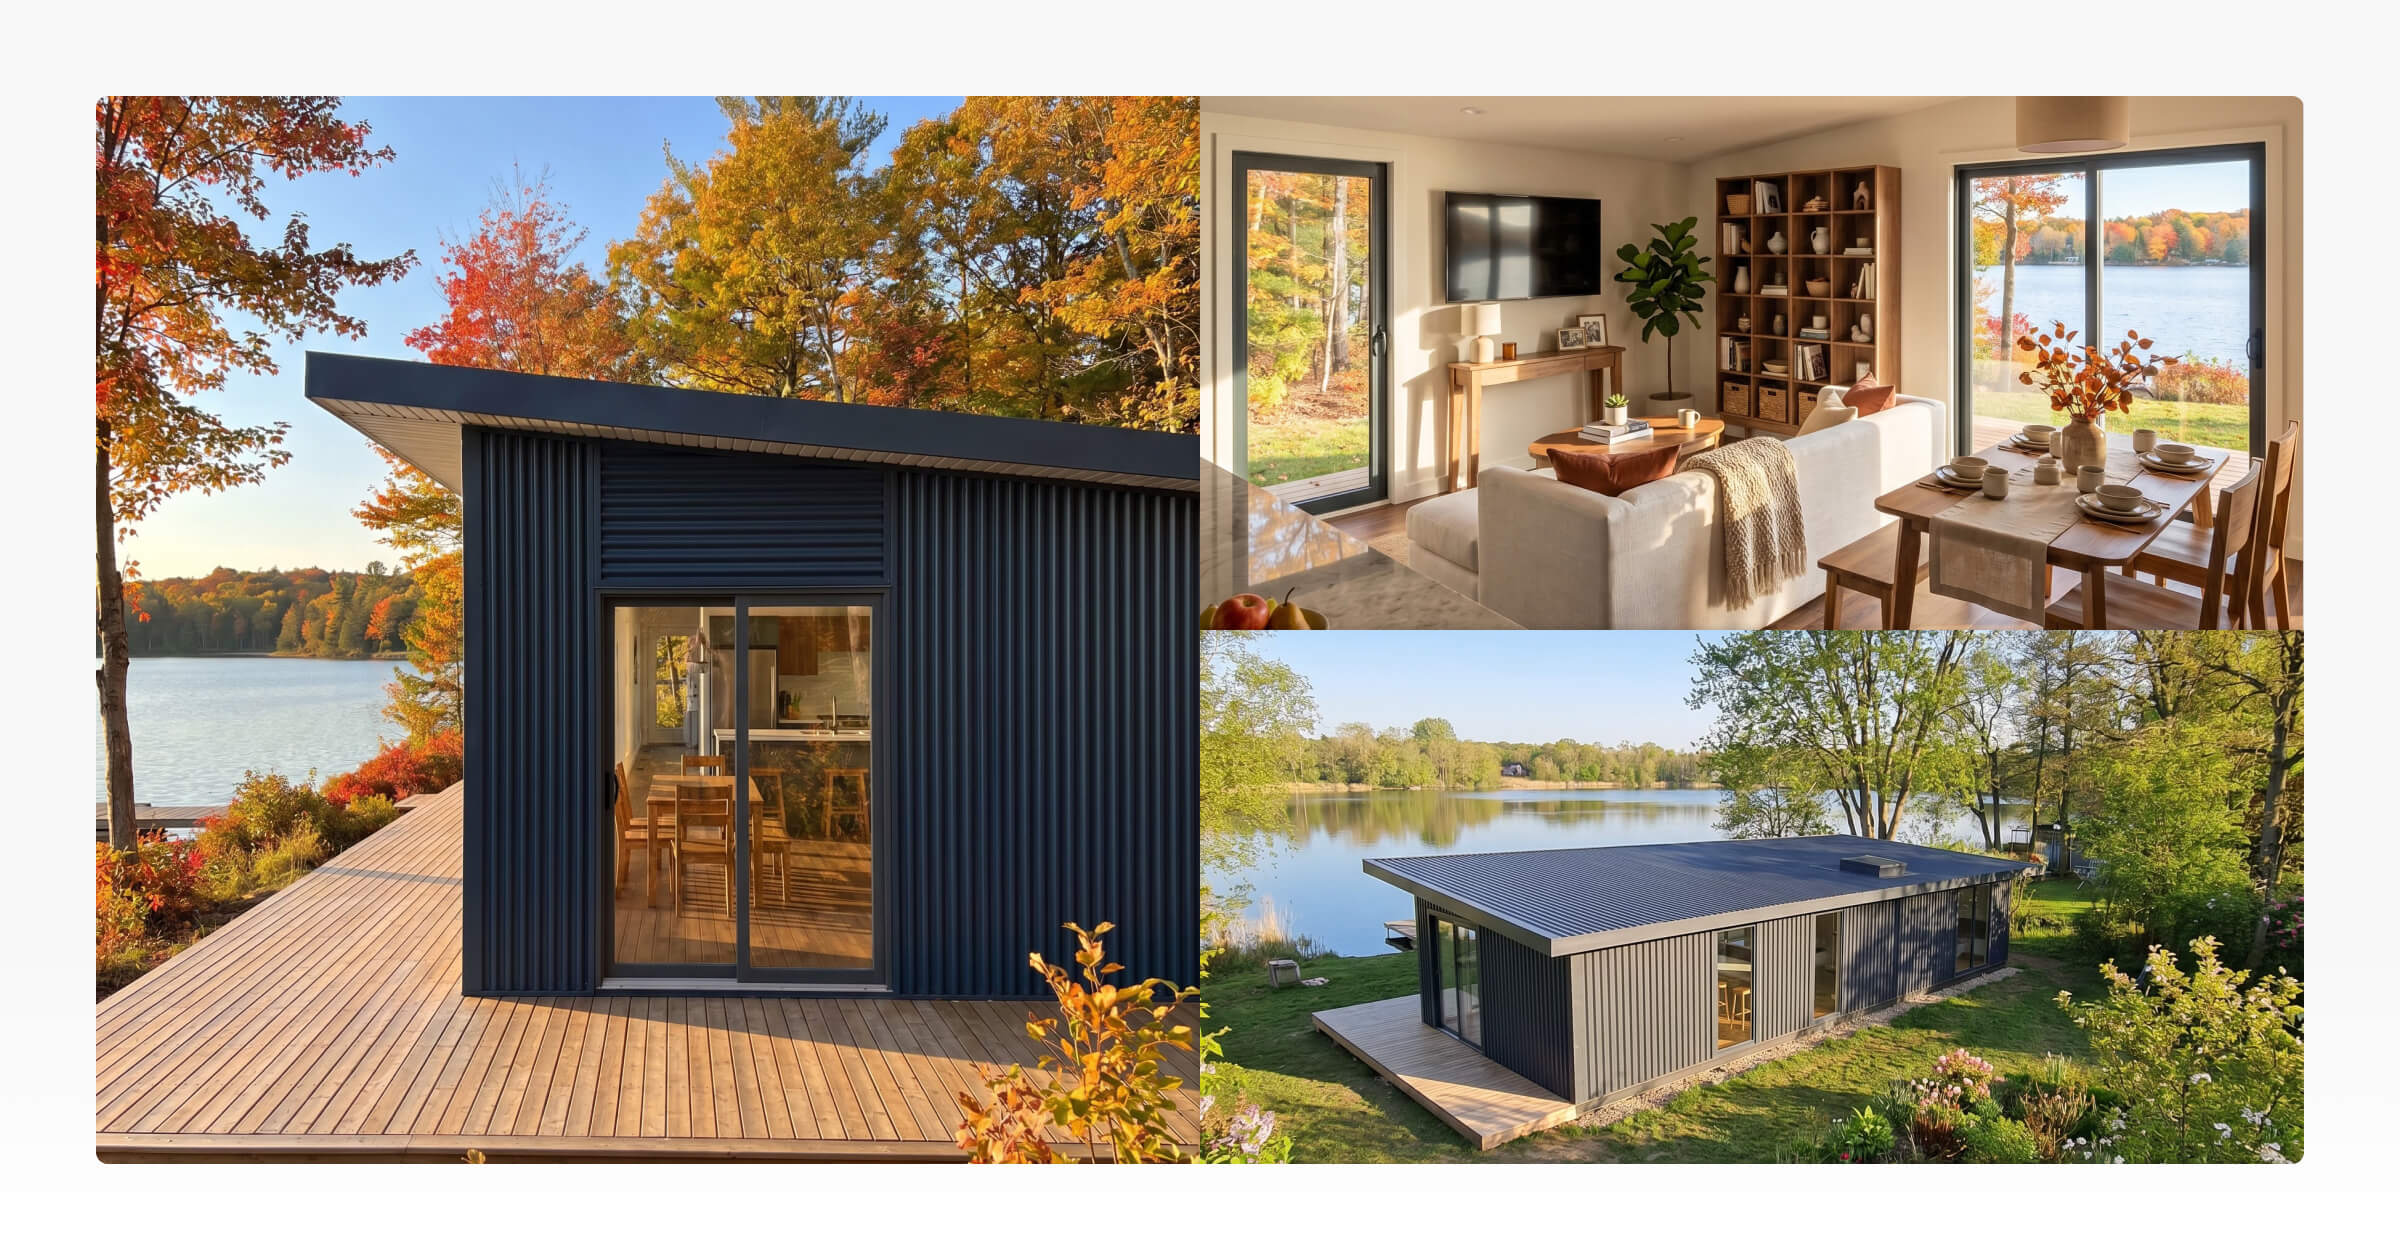
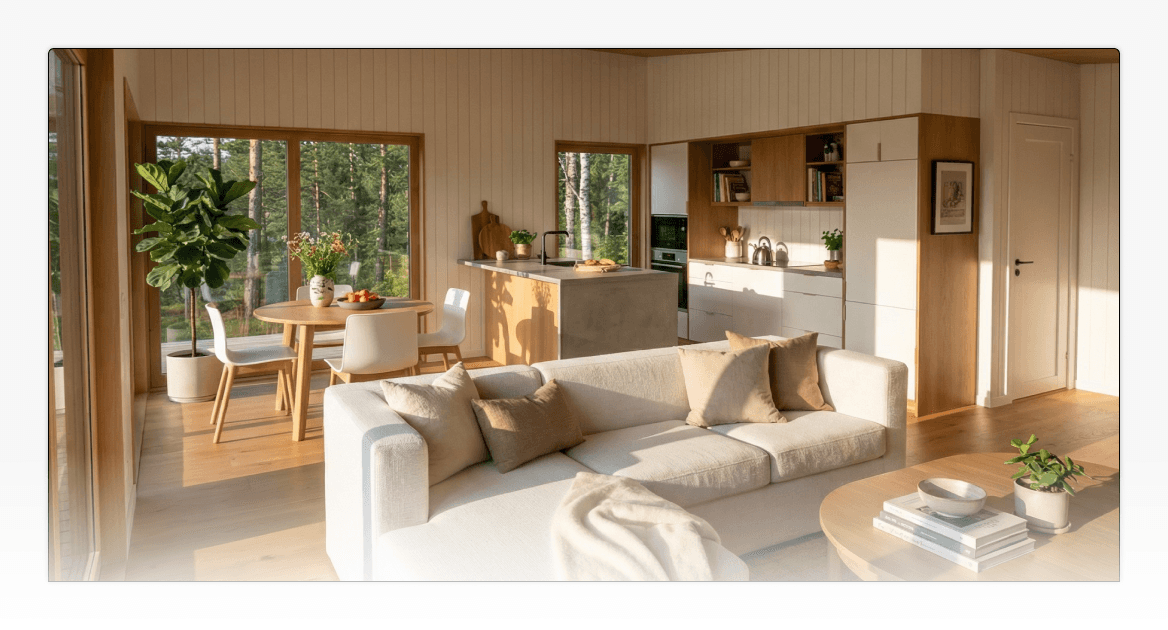
These images carry the prospect's own decisions forward instead of reusing generic marketing shots of the base model. An evening interior of the kitchen the prospect selected, in the finish they chose, can mean more to that prospect than a stock photo of a display home. It is their home, and that is what can change the sales experience.
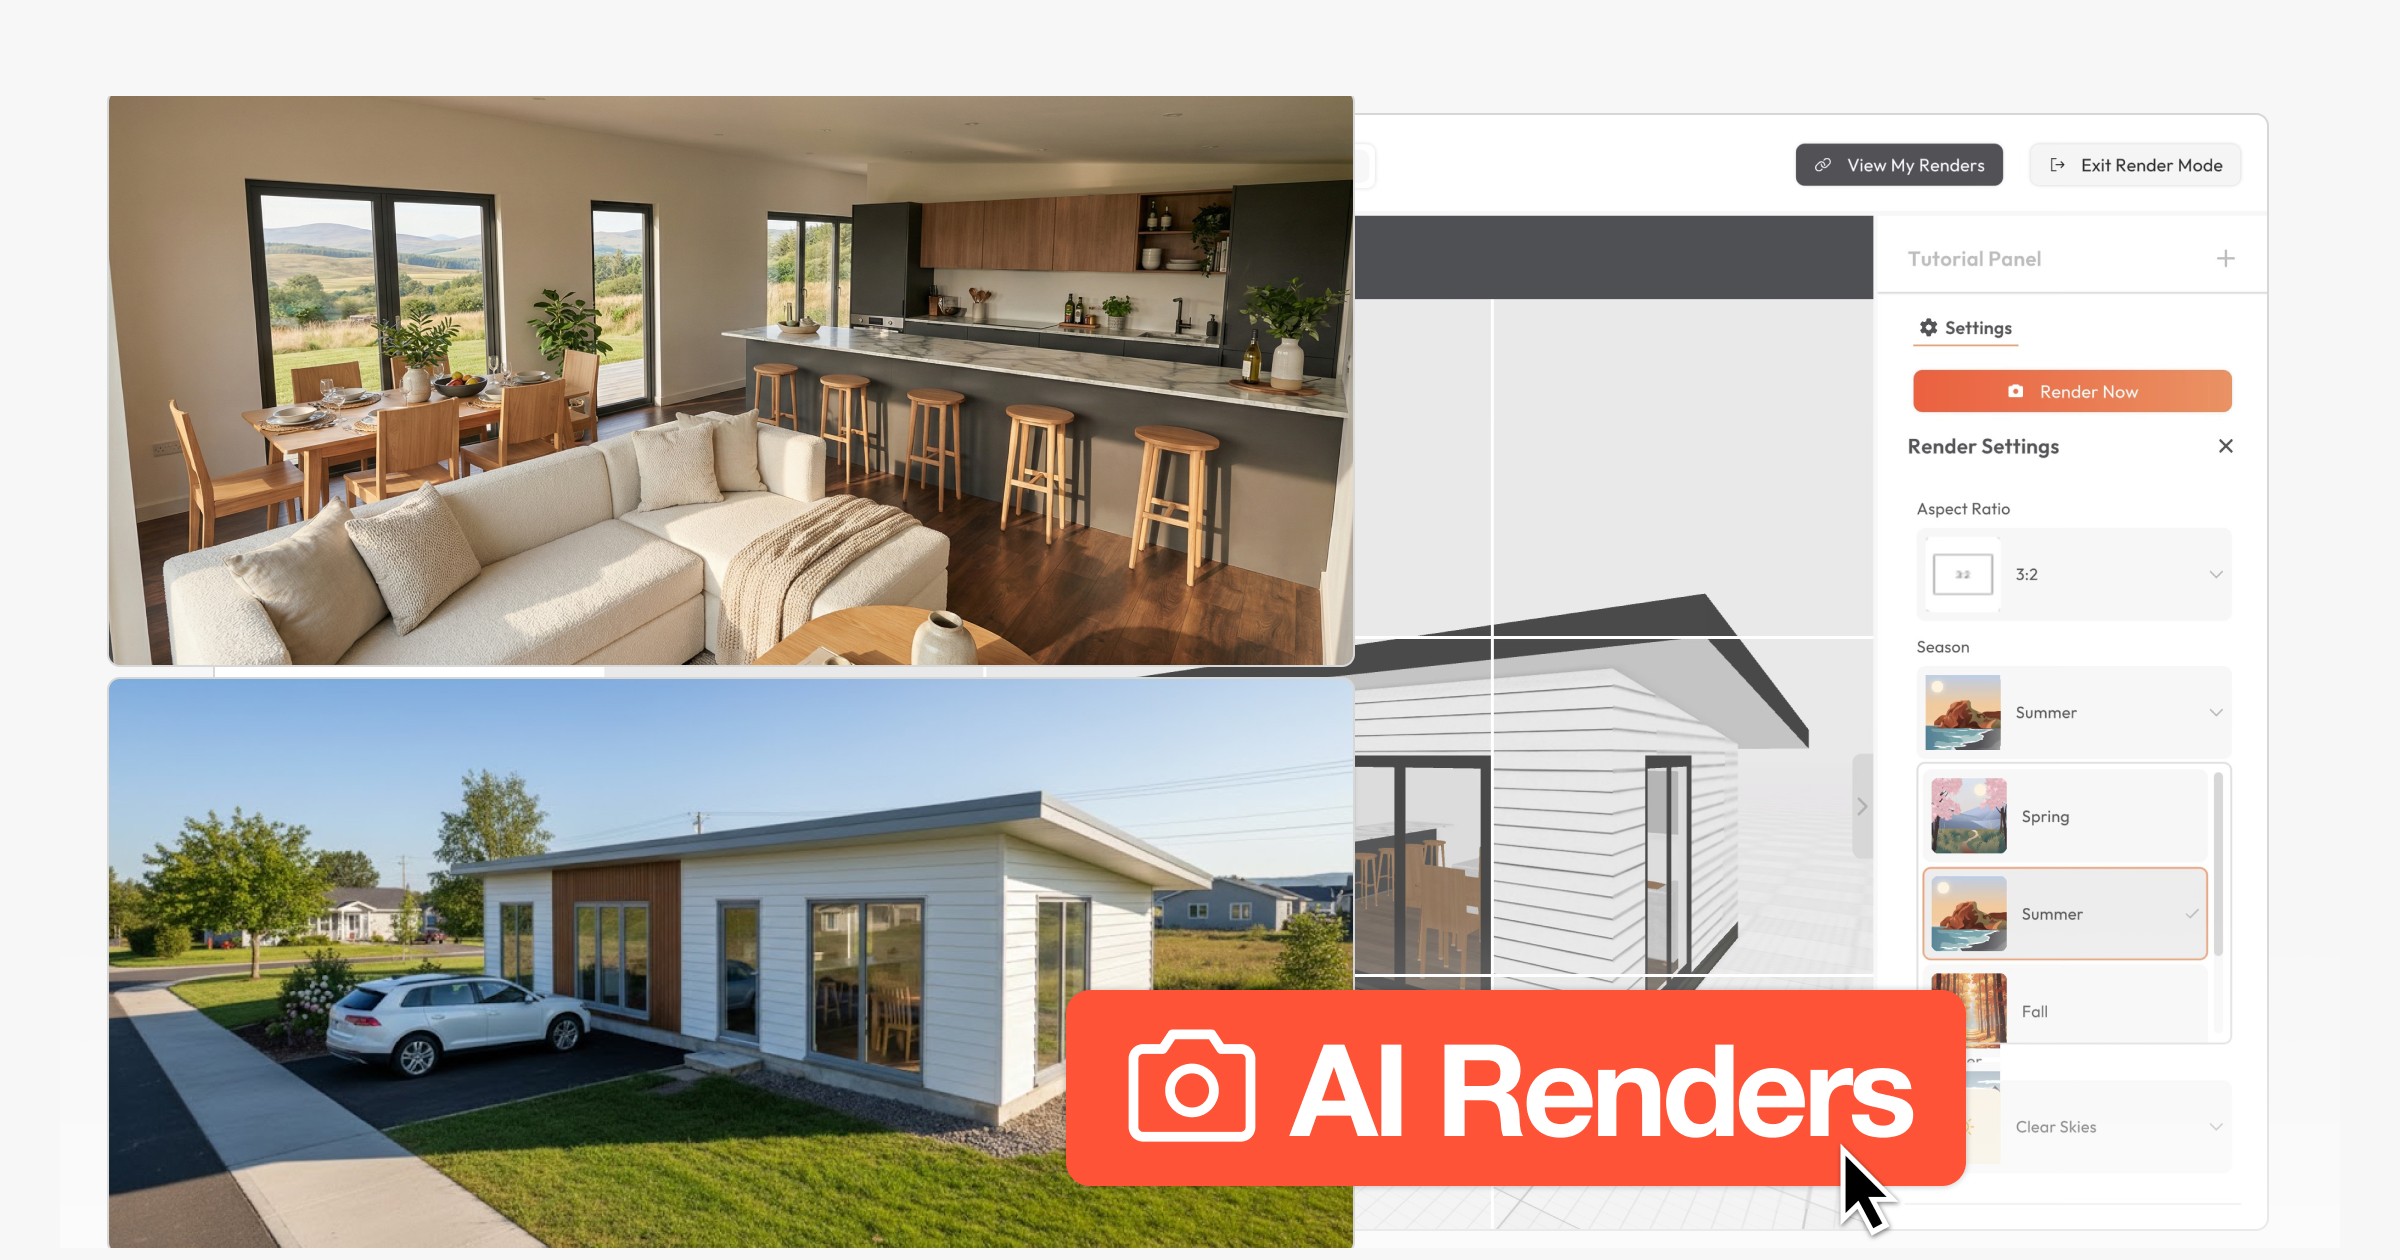
To create the renders, the builder opens the design in AI Renders and positions the camera for an exterior or interior view. Then they choose render settings and generate the image.
Settings like aspect ratio, time of day, season, environment, and weather let a builder match the render to the moment that will land best with a specific prospect. The builder reviews the result and downloads the image to use in the next step.
Continue the Sales Conversation
The next step matters as much as the render. A generic email with a pile of PDF and Word documents asks the prospect to download and read each file on its own.
A proposal can do better. It lets a builder structure everything the client needs in one visual document, including the renders created from the configuration.
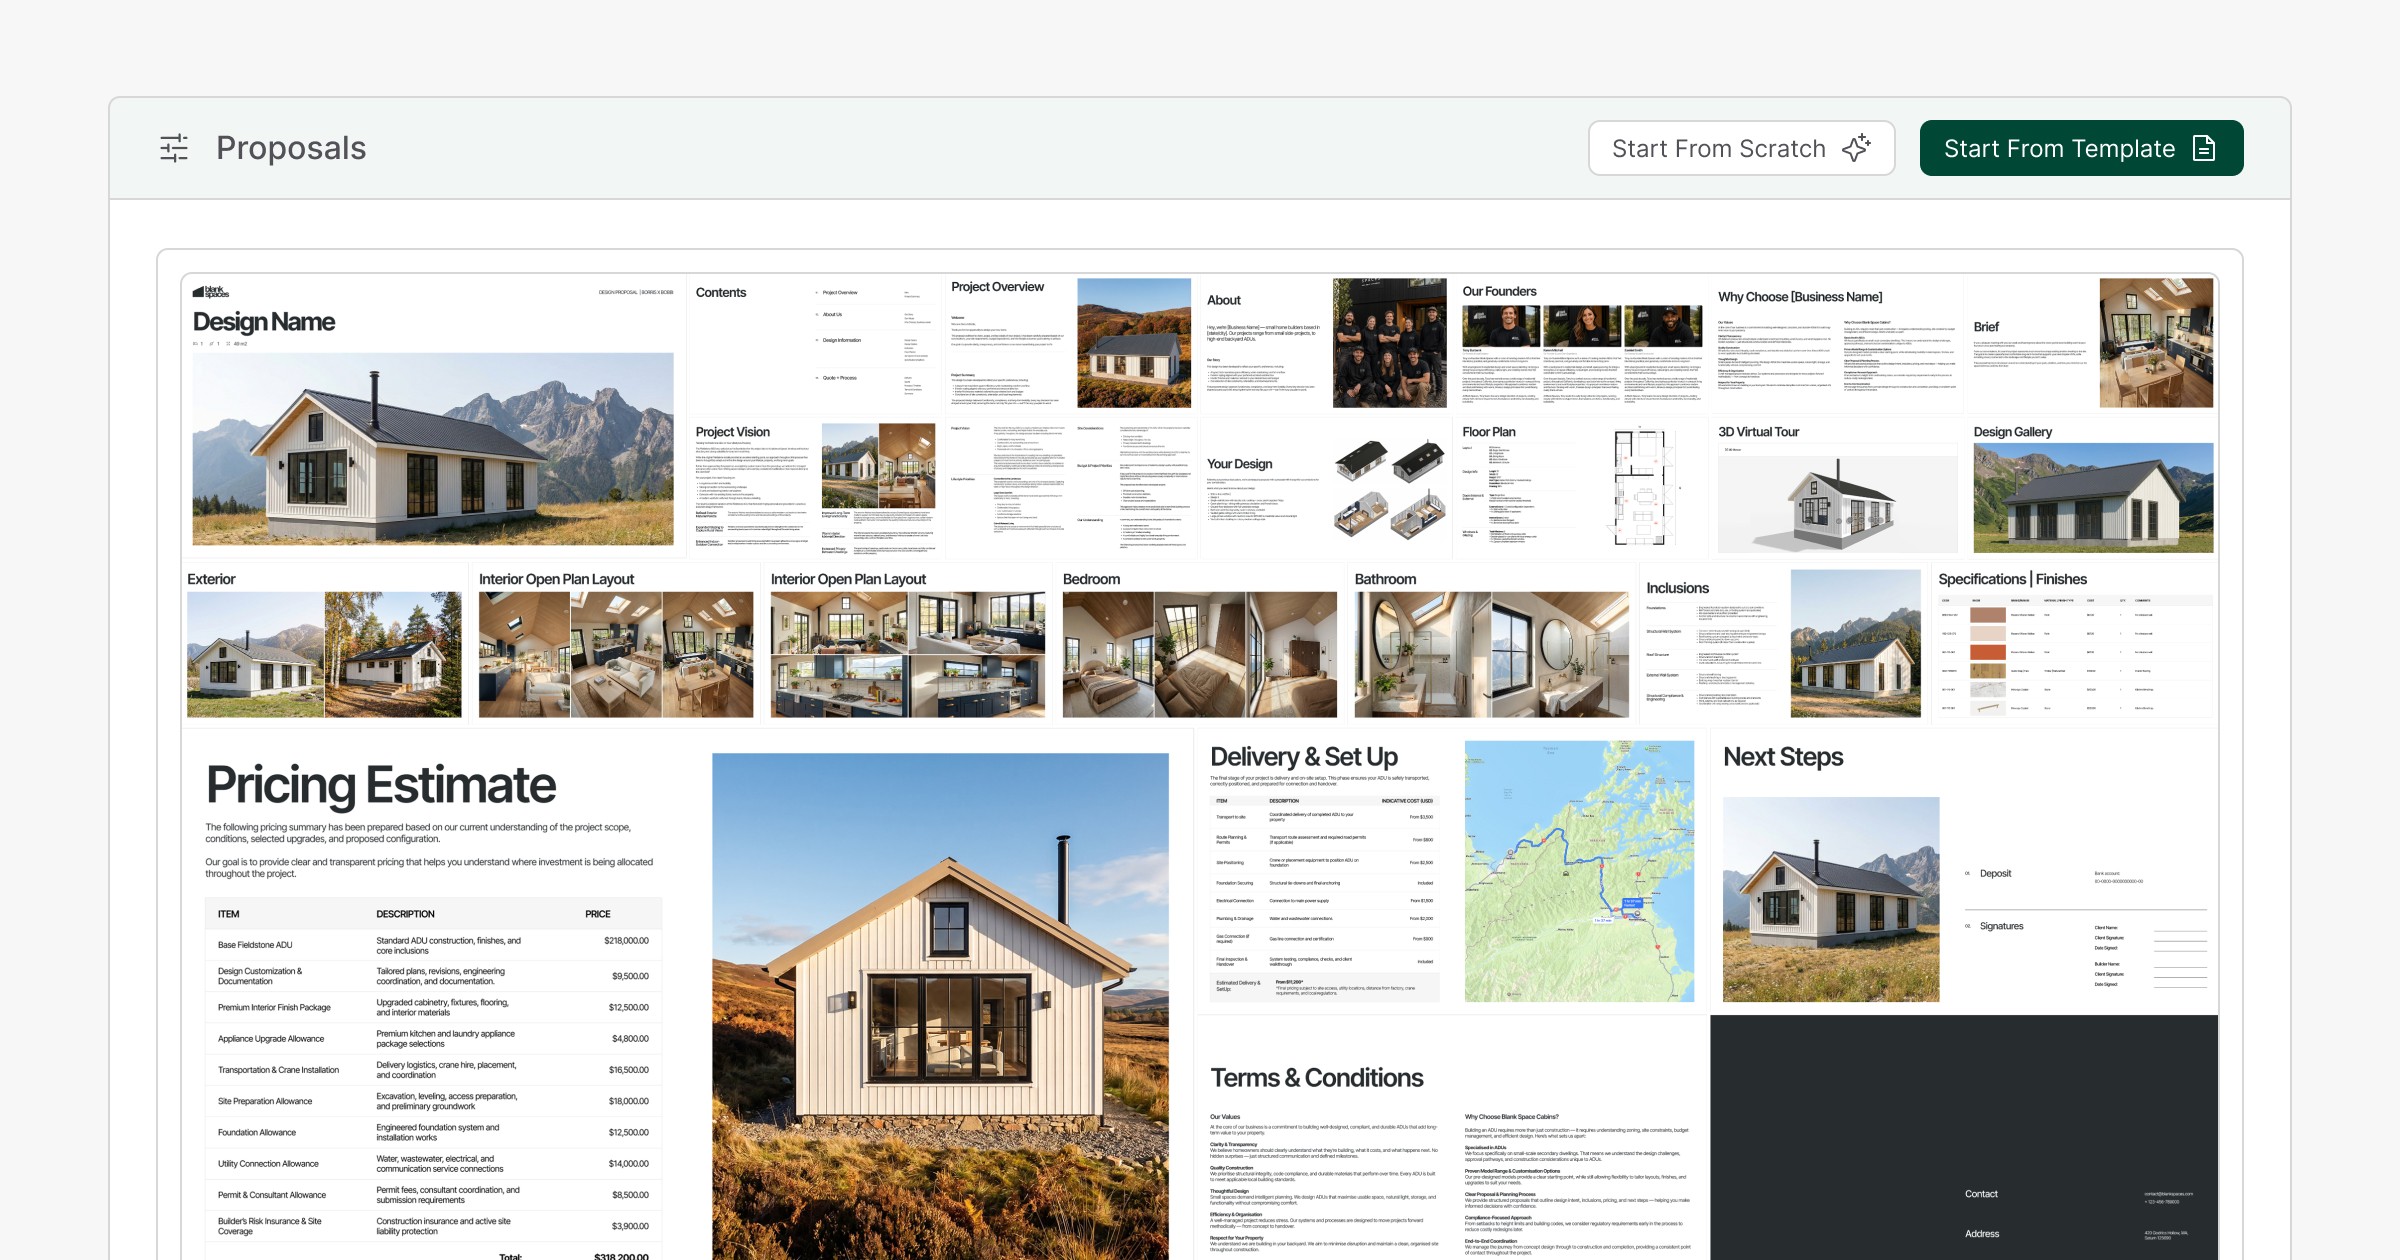
The proposal can also link to the prospect's customized 3D design, so the prospect can return to the home they configured. An estimated price, the process, and any extra information can sit alongside it as part of the same document.
A proposal is one route, not the only one. The renders also work in an email, a sales meeting, or a presentation. The point is continuity: the inquiry, the renders, and every later conversation should describe the same home.
When the Design Needs More Customization
Not every prospect fits inside preset configurations. A prospect may want customizations outside the options you have set up, or a layout the model range was not built for.
For that, Tiny Easy has another module built for custom work. 3D Designer is design software where a builder sets up their model range as templates.
To customize, the builder selects the template closest to what the customer wants and changes it. For a complete custom design, they can start from scratch.
The custom design can then go through AI Renders, the same way a configured model would. The builder can also share it through the 3D Viewer Tool as an independent 3D walkthrough, so the prospect can explore the home built for them without editing access to the design.
The renders and the walkthrough link can then be presented together in the same proposal.
The Walkthrough Is Where the Sales Journey Starts
An interactive walkthrough is most useful when it is not a standalone experience. It can be the first step of a visual sales journey, where the home a prospect explores stays connected to everything that follows.
For a builder selling their own homes, that means a prospect can move from exploring a model and choosing options to an inquiry, personalized renders, and a follow-up conversation. Nothing has to start from scratch at each stage. A proposal is one place that journey can land.
That is the journey the Tiny Easy 3D Configurator is built to support.
Explore the 3D Configurator to see how your own model range could carry a prospect from a first look through to the conversation that follows.



About the Author
Eujenne | Co-founder of Tiny Easy and has 8+ years of experience in the tiny house and small home industry.
She built her own tiny home on wheels with her partner and co-founder Laurin, and has designed several popular Tiny Easy concept homes, including the Scandi, Petite Maison, and 10x10 Tiny House on Wheels. At Tiny Easy, Eujenne works across UI/UX, product education, content marketing, and builder resources, helping small home businesses use 3D design and visual sales tools to improve their design, sales, and client communication workflows.